Blog
Pizza Supreme, Fat Head Crust
Fat Head Pizza Base:
The original Low-Carb Mozzarella Pizza Crust, also called Fat Head Pizza by Tom Naughton, is very popular in the low-carb community. This is my adapted version of Ruled.me‘s Fresh Bell Pepper Basil Pizza, but if you’d like to try Fat Head Pizza with mozzarella-tomato-rocket pizza, click the link.
Mise en place: Have two bowls handy, one microwaveable, a spatula, and two pizza sized pieces of parchment paper to roll the dough between, a rolling pin, and avocado or olive oil for you hands.
Secondly, whatever toppings need to be cooked, (ie: beef, mushrooms) you will want to do that before, or as a meanwhile to making the crust (the crust takes about ten minutes to pre-bake).
Preheat oven to 400F. If using a pizza stone, place in oven before preheating.
Crust:
Ingredients:
6 oz shredded mozzarella (1 1/2 cups) (you will need 3oz more for topping)
2 oz cream cheese(2 tablespoons)
1 large egg, beaten
2 tablespoon psyllium husk
2 tablespoons parmesan cheese
1/2 cup almond flour (coconut flour will not work)
1/2 teaspoon salt
1 teaspoon Italian seasoning, or other herbs of your choice (optional)
Toppings:
1/2 to 1 cup no sugar added Marinara sauce, such as Rao’s
3 oz shredded mozzarella
16 slices pepperoni
5 oz ground beef, browned
2 oz white onion
2 oz shredded or grated parmesan
4 oz sautéed mushrooms
Directions:
Preheat the oven to 400F. If using a pizza stone, place it in cold oven first.
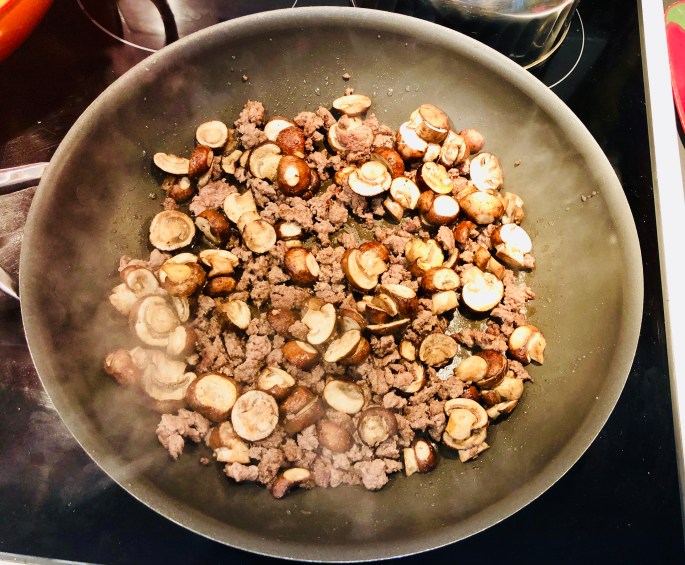
Prepare preferred toppings: brown ground meat, sauté mushrooms, slice onion, count out pepperoni.
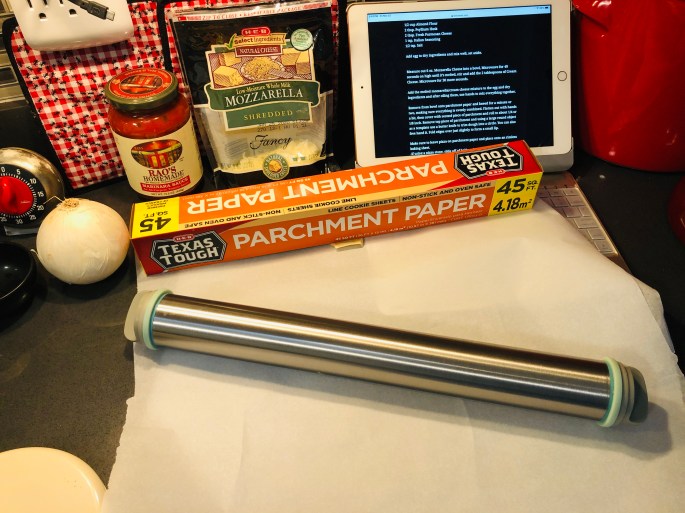
Prepare equipment: parchment paper, rolling pin, have baking sheet handy.
Measure out all dry ingredients in a bowl, this one will not go into the microwave, so save that bowl for the next step.
1/2 cup Almond Flour
2 tbsp. Psyllium Husk
2 tbsp. Fresh Parmesan Cheese
1 tsp. Italian Seasoning
1/2 tsp. Salt
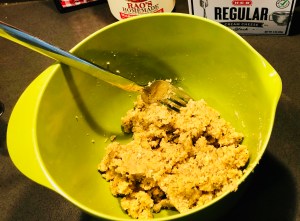
Add egg to dry ingredients and mix well, set aside. It will be slightly crumbly, but mostly hold together
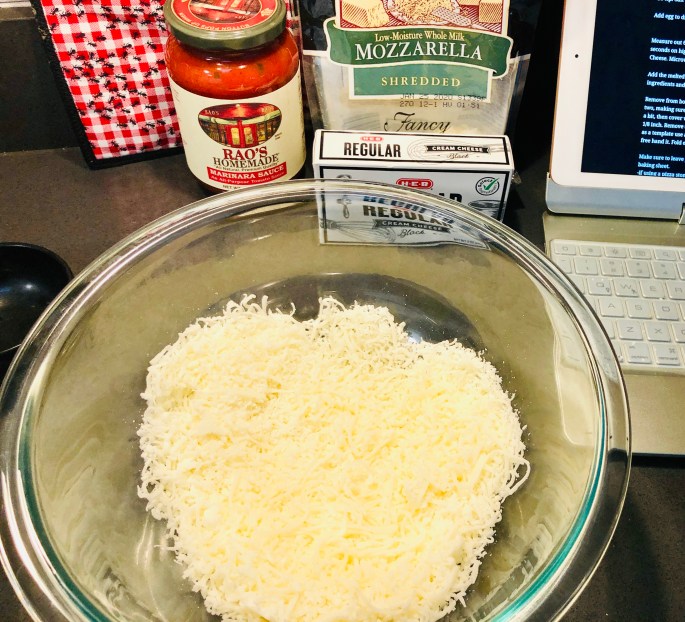
Measure out:
6 oz. Mozzarella Cheese
2 oz Cream Cheese
Measure the 6 oz mozzarella into microwave safe bowl, setting cream cheese aside, Microwave for 40 seconds on high until it’s melted, stir, then add the 2 oz cream cheese and microwave for 30 more seconds. Stir to combine.
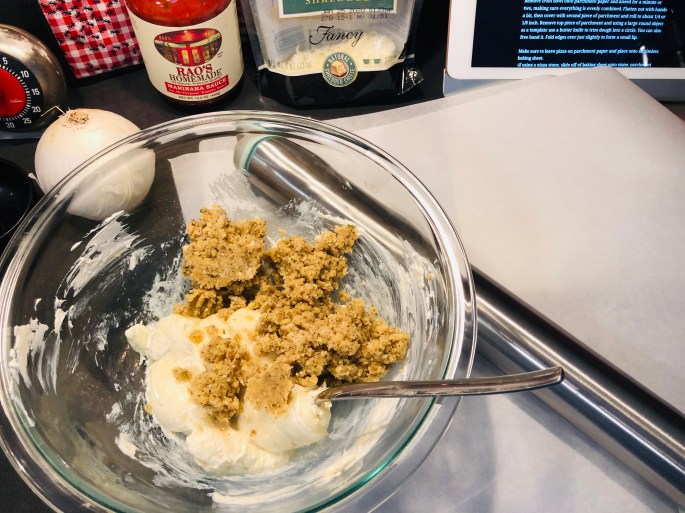
Add the melted mozzarella/cream cheese mixture to the egg and dry ingredients and after oiling hands, mix everything together.
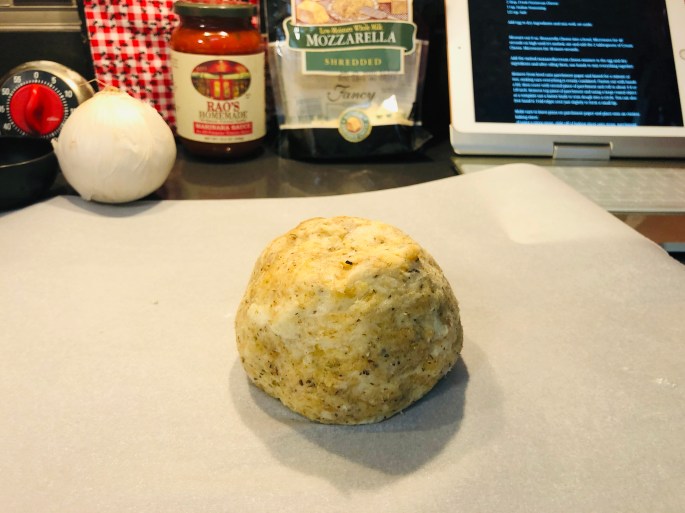
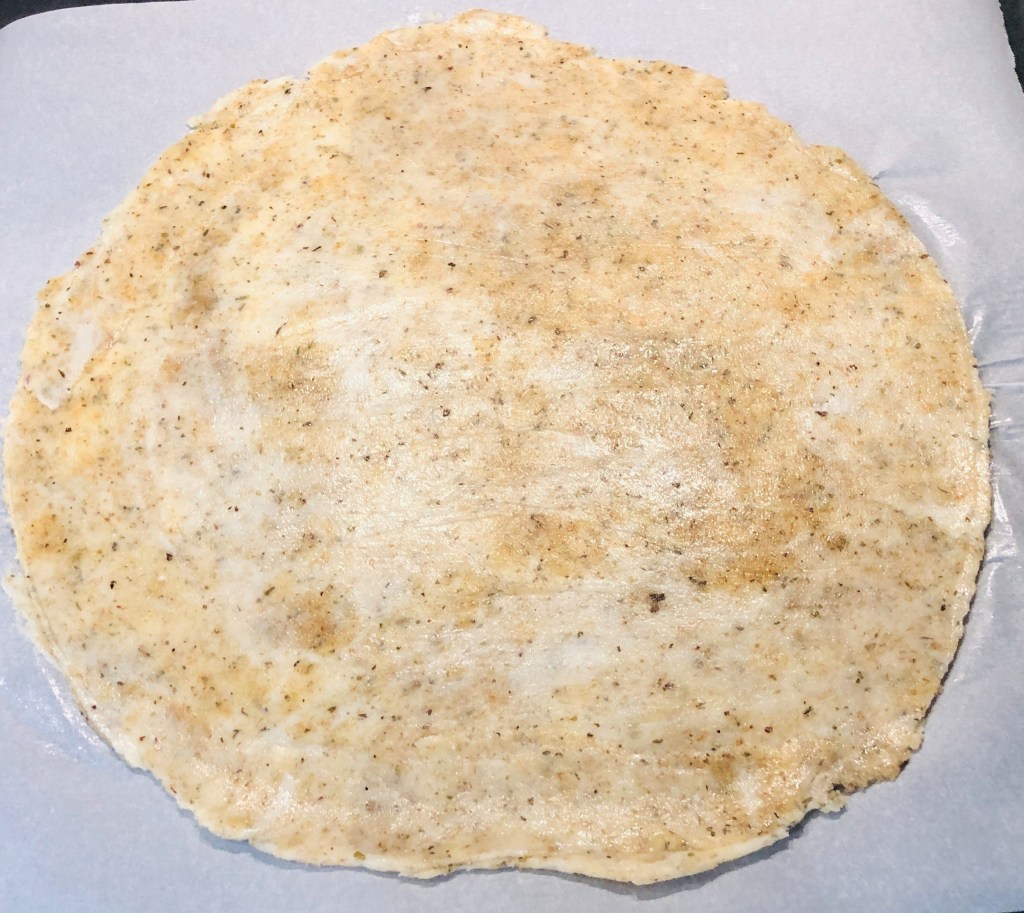
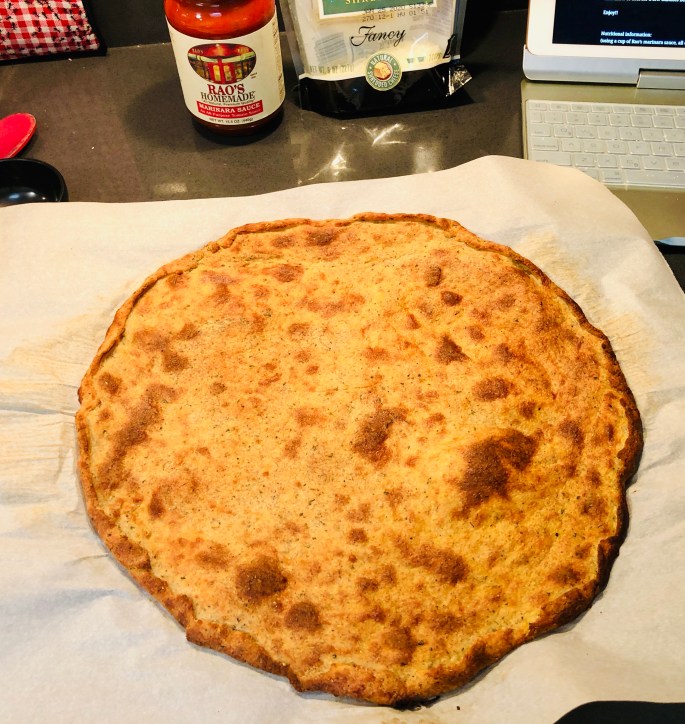
Remove from bowl onto parchment paper and kneed for a minute or two, making sure everything is evenly combined. Roll into a ball then flatten out with hands a bit. Cover with second piece of parchment and roll to about 1/4 or 1/8 inch. Remove top piece of parchment and using a large round object as a template use a butter knife to trim dough into a circle. You can also free hand it. Fold edges over just slightly to form a small lip.


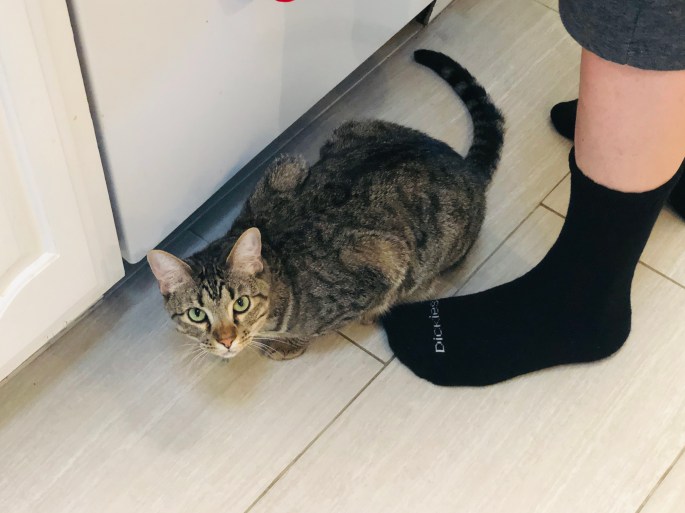
There’s always a kitty or two under foot, waiting patiently to help clean up any spills that may occur.
Make sure to leave pizza on parchment paper and place onto an rimless baking sheet.
-if using a pizza stone, slide off of baking sheet onto stone, parchment and all, and bake for ten minutes.
-Otherwise, bake for ten minutes on baking sheet. Either way, you want the crust to be golden brown.
Remove from oven and allow to cool a bit. If your using a pizza stone, this can be a bit tricky. You will need to use a potholder to grasp the parchment paper and slide the baked crust back onto the baking sheet, being careful to not let the crust slide off the paper. I suppose one could remove the entire stone from the oven, being mindful that it is very hot, and kinda heavy.
Now it’s time for toppings:
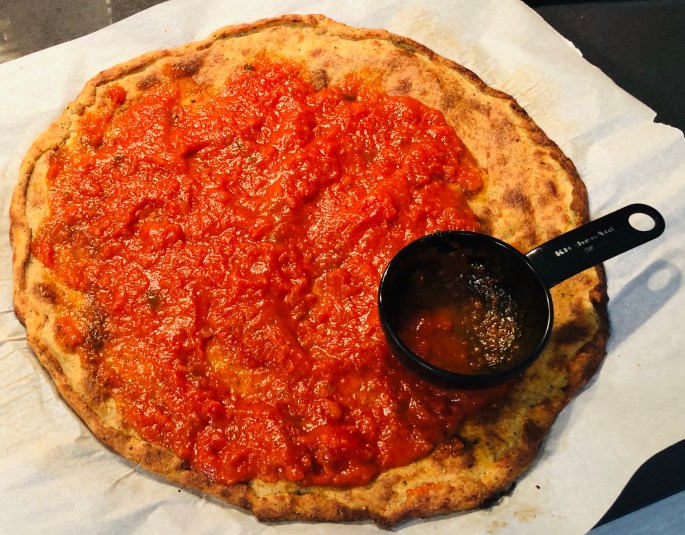
Spread 1/2 to 1 cup no sugar added Marinara sauce, such as Rao’s onto crust, I use the measuring cup to spread the sauce.
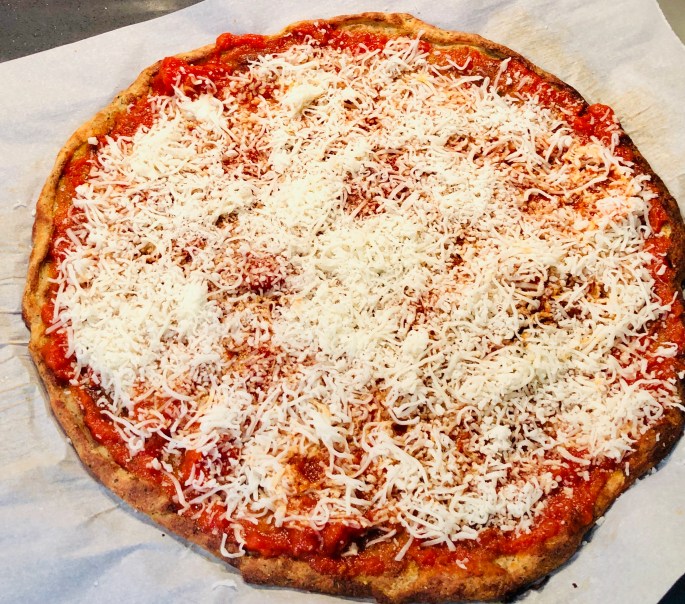
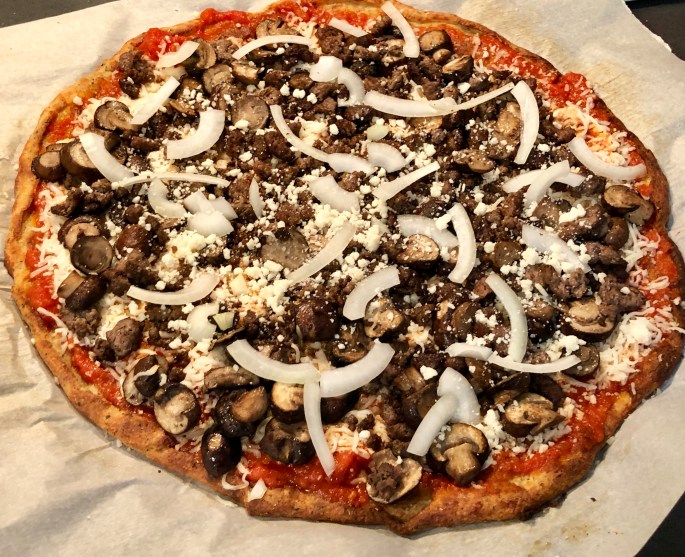
Add Cheese, top that with the browned ground beef and sautéed mushrooms, then the 3 oz of shredded mozzarella. Next add the 16 slices of pepperoni, 2 oz of white onion, and finally 2 oz of shredded or grated parmesan. I do it in that order because it seems to hold together better than piling everything on top of the cheese. (Shamefully, I was out of pepperoni.)

Place pizza back in oven for another 8-10 minutes, and this step is tricky using a pizza stone. Gently slide off baking sheet back onto stone and bake until the cheese is nicely melted and starting to brown, but watching for the edges not to burn.
Remove from oven, using same process as before if using pizza stone, and allow to cool for a few minutes before cutting.
Enjoy!!
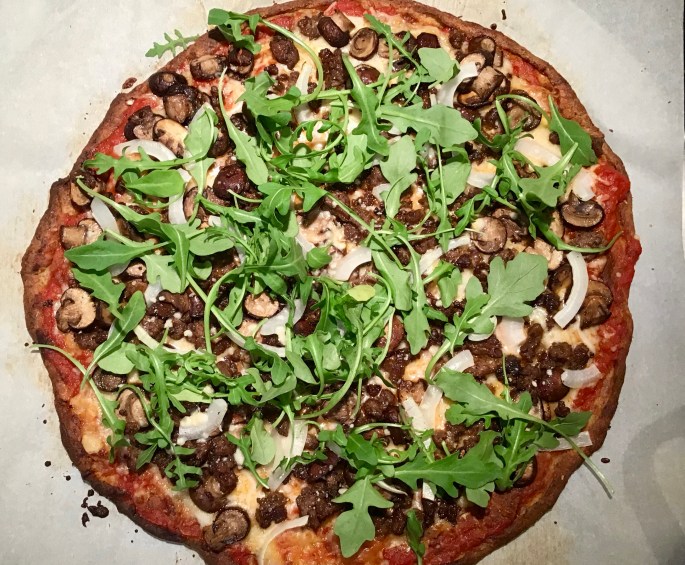
I decided last minute to add some baby arugula to the top; very wise decision.
Nutritional information:
(using a cup of Rao’s marinara sauce, all other ingredients as listed)
A serving is 1/4 of pie, or two slice when pie is cut into roughly 8 equal pieces.
Entire pie(4 servings): 2096.1 Cal, 125.9g Protein, 53g total carbs, 16.5g fiber, 36.4g net carbs, 152.2g fat.
Per serving (2 slices, 1/4 pie): 524 Cal, 31.5g protein, 13.3g total carbs, 4.1g fiber, 9.1g net carbs, 38.1g fat.
Coconut Cheesecake Balls
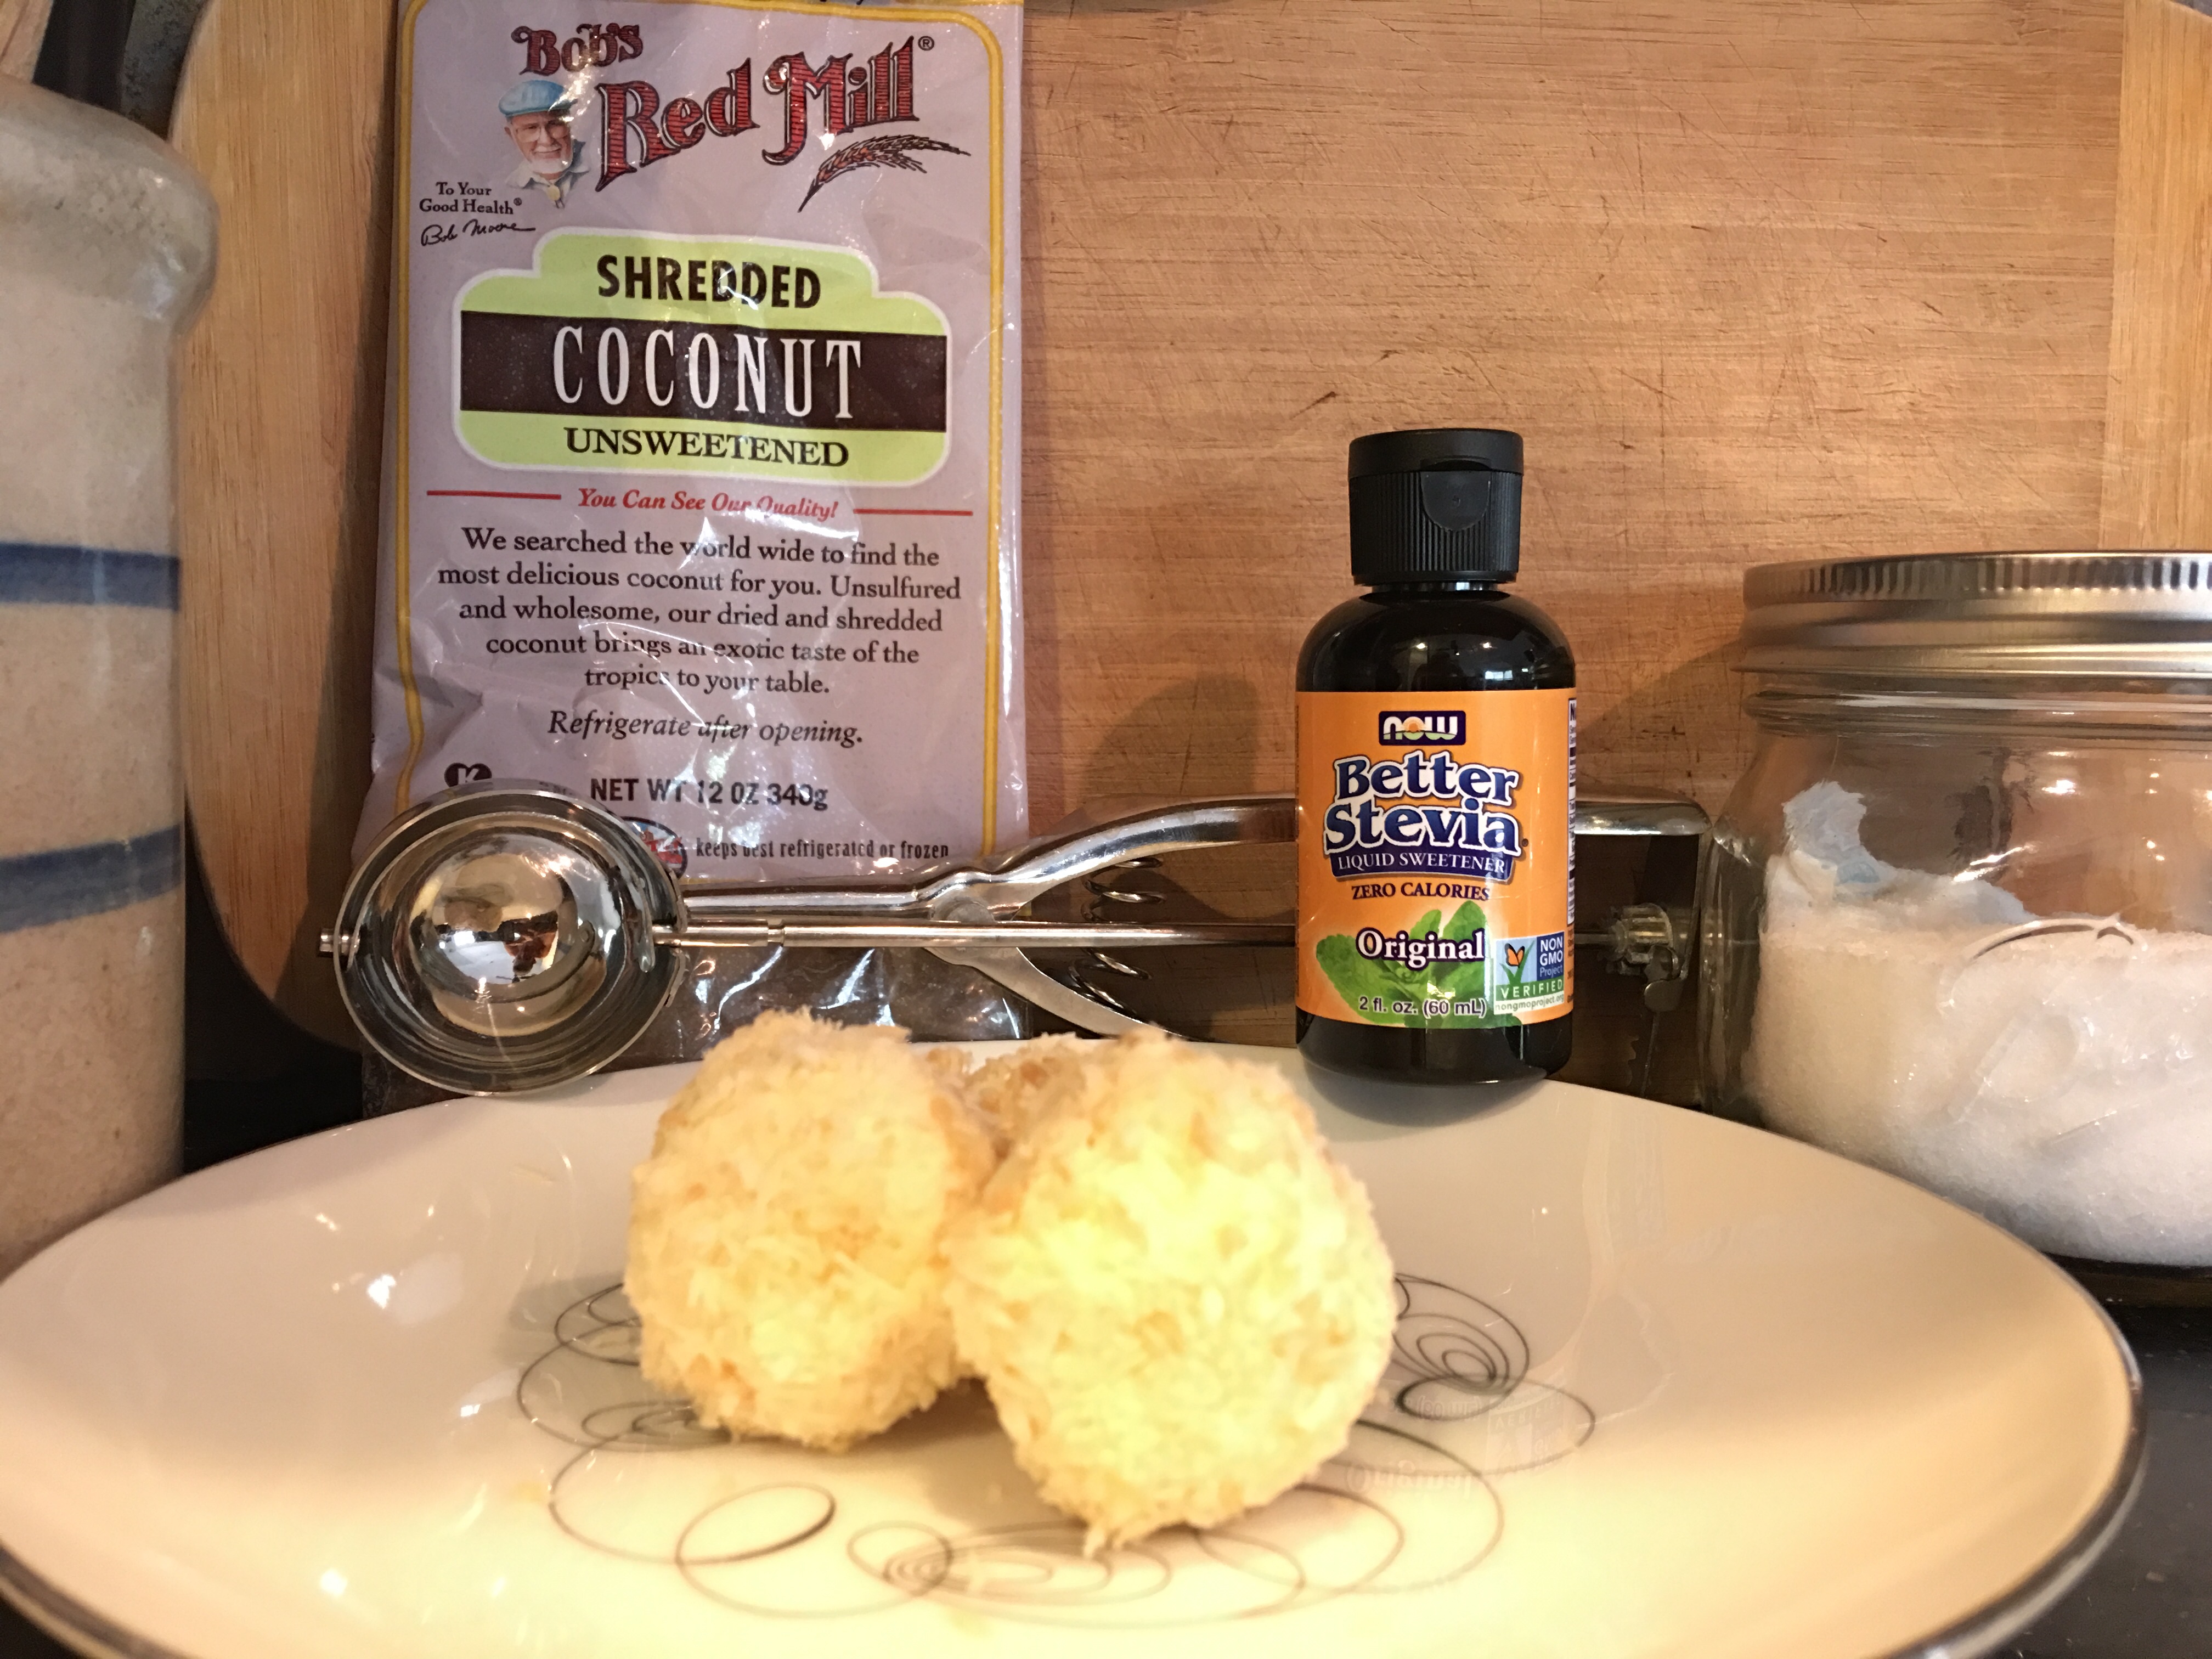
Same recipe as Cheesecake Balls, but I took them out of the fridge after about an hour and rolled them in unsweetened shredded coconut. Also, they can be frozen and dipped in unsweetened/stevia or swerve sweetened chocolate.
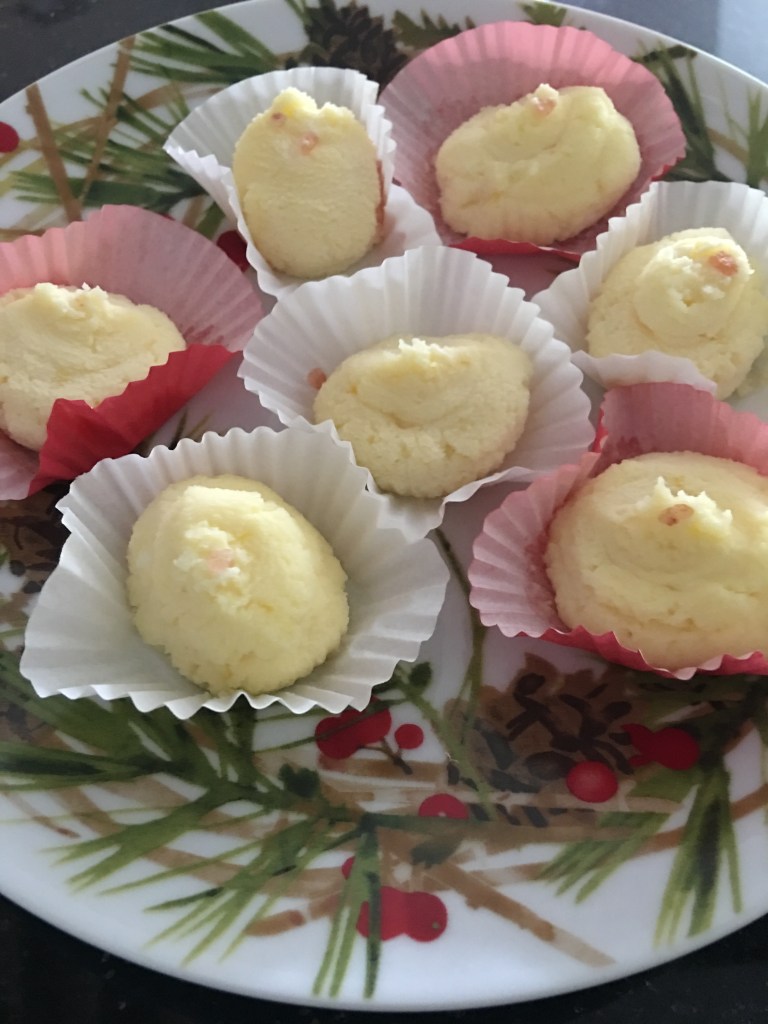
Cheesecake Balls
It’s that time of year again, holiday parties and dessert tables can be a formidable enemy. These cheesecake fat bombs are an easy way to indulge without going off the rails, and for me, satisfy my sweet tooth. This is not to say that fat bombs have to be sweet; they can be anything really, your imagination is the limit. Having made a number of fat bombs over the past year, I decided to go out on a limb and create my own. It wasn’t hard really, as their name suggests, they consist mostly of fat. I know what you’re probably thinking, ewwwww gross; not so.
I didn’t set out to create a cheesecake fat bomb, that was a happy accident, I just wanted a sweet treat. Since I am all about simple, I decided on few ingredients: butter, cream cheese, heavy cream, lemon, and Swerve. After mixing it all up I took a taste and said: Yum, cheesecake! I was very excited, but that’s not the best part; these sweet little treats come in at only 79 calories a piece, so I can have two without guilt.
The Kerrygold butter can be substituted with any grass-fed variety, as long as its unsalted; the Swerve can be replaced with any zero calorie sugar substitute. Like most fat bombs, these do have to be kept refrigerated, and freeze beautifully. I highly recommend using a scale to get even portions, and mini-muffin cups for ease and simplicity. My only wish is that I had maybe added some vanilla bean or almond extract; perhaps next time.
Yields about forty 1/2 ounce servings, each with: Calories: 79; Fat: 7.8g; Cholesterol: 22mg; Sodium: 20mg; Carbs: 0.7g; Sugars: 0.5g; Protein: 0.4g.
Ingredients:
8oz full fat cream cheese, softened
8oz Kerrygold unsalted butter, softened
1/2 cup swerve, add more to taste
1 cup heavy whipping cream
Juice and zest of one lemon.
pinch of salt.
Mise en place: Prepare a baking sheet, that will fit into refrigerator, with forty mini muffin cups. Have food scale, spatula, and a pastry bag nearby.
Directions:
1. In a bowl combine softened butter and softened cream cheese. Use an electric mixer, or the balloon whisk on a stand mixer to beat until creamy and smooth.
2. Turn mixer off before adding 1/2 cup of Swerve and a pinch of salt, restart mixer at lowest speed to avoid a making a huge mess. Mix thoroughly and taste, this may be sweet enough for your liking. It wasn’t for me, so I added more.
3. Use a micro-planer to zest lemon, or a zester and finely chop. Juice lemon and add both along with heavy cream to the butter/cream cheese/Swerve mixture and beat at high speed until stiff, about two minutes.
4. Spoon mixture into a pastry bag or food storage bag with a cut corner, pipe into mini-muffin cups, using a food scale to measure each to a half ounce serving. Place filled muffin cups on cookie sheet as you go
5. Place baking sheet of filled muffin cups in fridge to firm up, two hours to overnight; they will not harden. Move to airtight container and store in refrigerator. If stored in freezer, be sure to thaw in refrigerator.
93 days
The countdown is officially on!
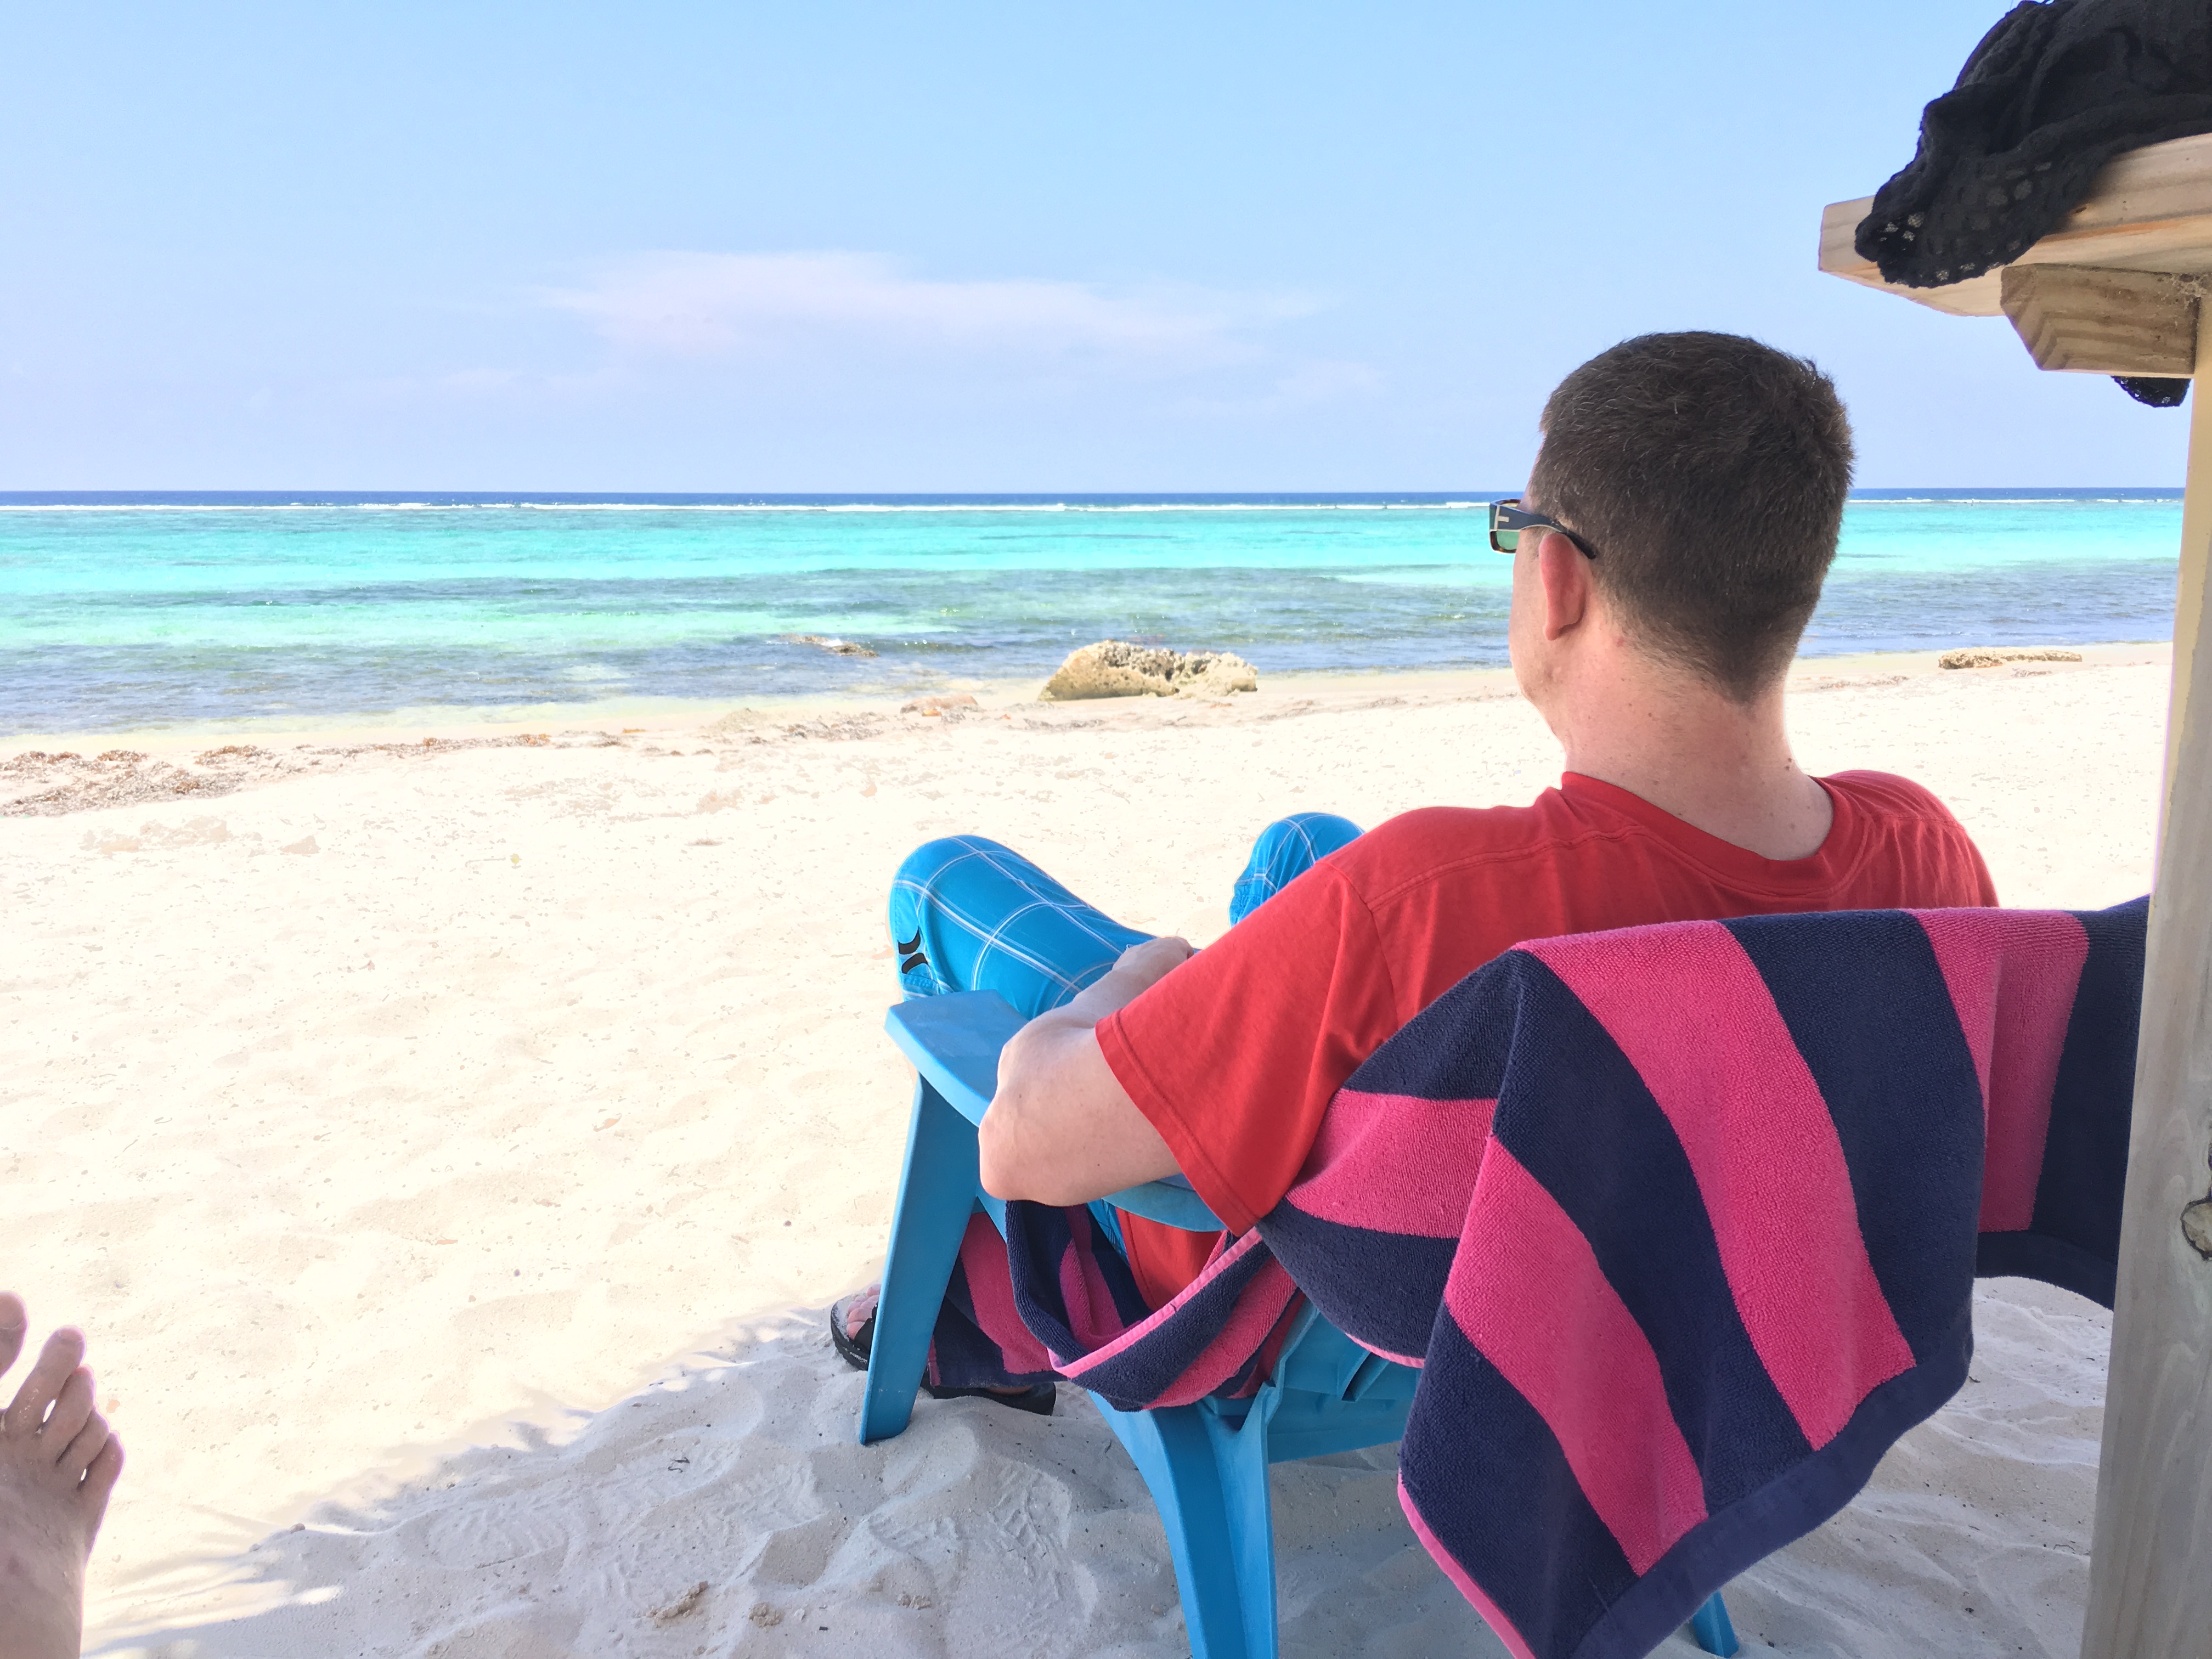
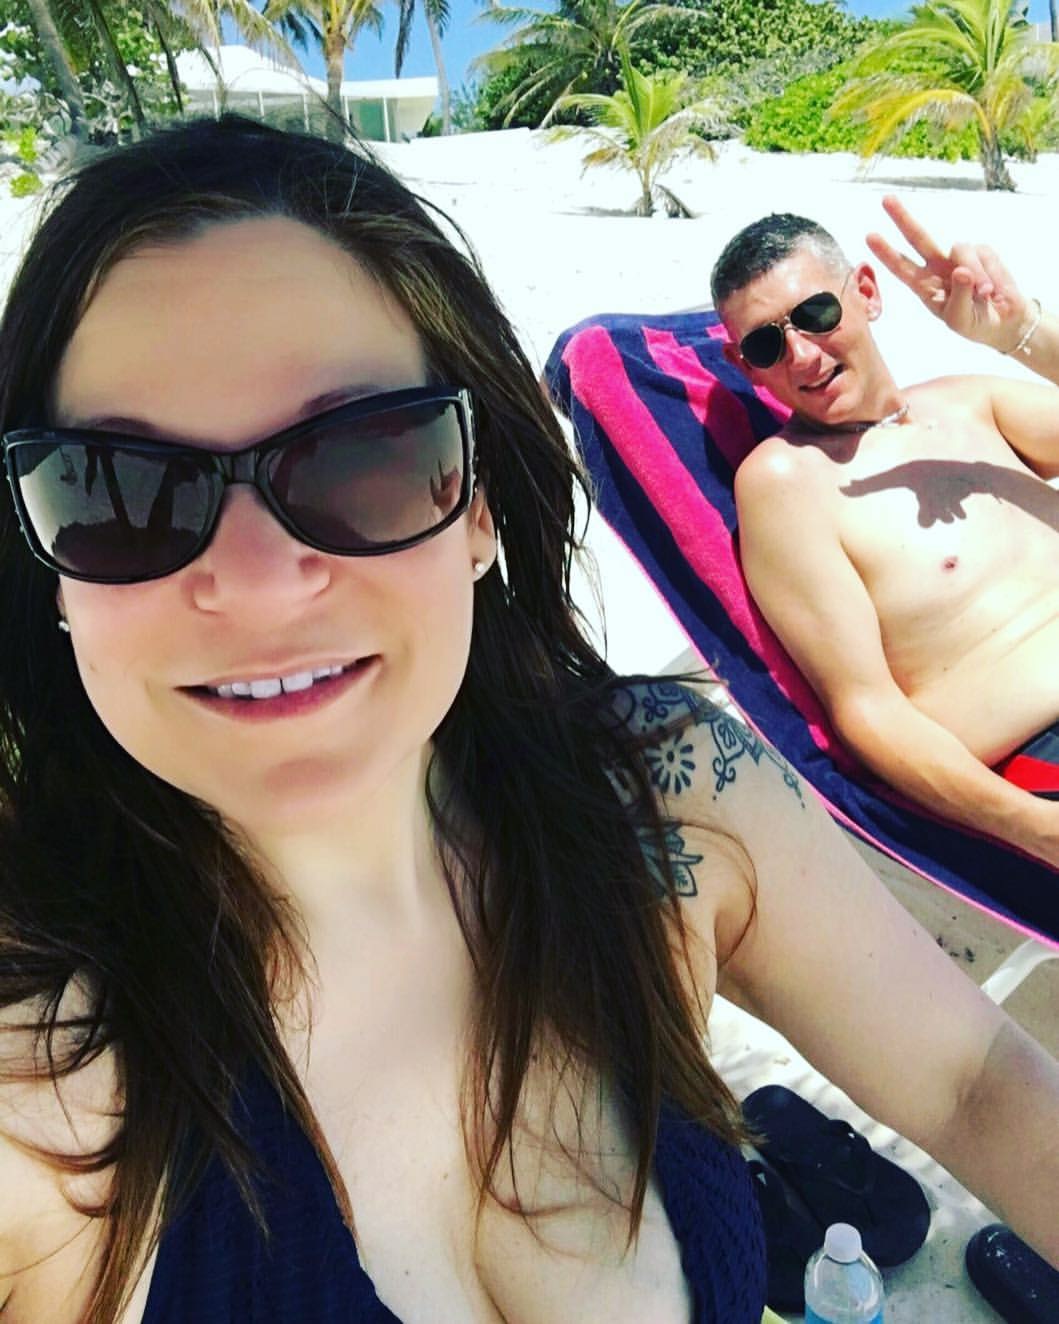
Truth be told, I started counting down the moment we made the reservation, which was exactly one day after we got back last summer; two hundred and seventy-two days ago. Now that we’re down to the double digits, I am really starting to get excited! In just 93 days my husband Brian and I, and our dear friend Wendy will board a plane bound for the Island of Grand Cayman, and if you can’t tell, the anticipation is killing me!

Sidenote: The title on the above photo is clickable, and highly recommended! Chad Is a great guy, and his place is a little slice of heaven. We did have to rent a car, as this isn’t on the touristy side of the Island, but if you’re really looking to get away from it all, this place is exactly and perfectly perfect!
I am already planning what to pack, which this time isn’t going to be much. Last year I way over packed, even though I swore I wasn’t going to. What on earth did I think I would need with three pair of jeans, six pairs of shorts, four pair of shoes, six pairs of socks, five bathing suits, nine tees, and three button down shirts on a tropical island? I mean seriously who did I think i was, Cher? Nope, this time a single carry-on sized duffle bag is all I am taking with me. The five S’s I’m calling it: One swimsuit (ok, maybe 2), one pair of sandals, shirts of the tee variety (2), shorts (2), and copious amounts of sunblock. That’s it, I’m not even bringing undies or socks. I did plan to be in better shape this time around, and think I still have time to do that. If not, I’m still going to love every minute of this gorgeous island!
Also different this time around is I have gotten past my fear of scuba diving, and decided to take lessons. Last year I balked at the idea, some BS about not being able to snorkel as a kid. Anyway, we opted for snorkeling, which was great but scuba diving would have been so much better. I can’t wait to swim with the fishes!
Other things we plan to do this time are take a kayak tour of some bioluminescent life. Wendy and I planned to do it last time, but backed out because I thought the weather was a little off. Turns out, the weather was perfect for it; lesson learned. We will also simplify the food situation. I packed so much food thinking it would be less expensive than buying it on the island. Knowing that the cottage has a kitchen, I planned on cooking every meal, Keto of course. Anyway, that plan failed miserably when we were charged an extra hundred dollars because the luggage was overweight.
Though I know she doesn’t hold it against me, I still feel guilty for cheating Wendy out of that experience. My motto for this trip is: If it sounds fun, do it!

I am so grateful that we had the opportunity to be surrounded by such peace and beauty. I set this picture as a face on my Apple Watch so when I’m having a hard day I can be reminded of how utterly relaxed and at peace we were; it always makes me feel better.
My First Blog Post
Be yourself; Everyone else is already taken.
— Oscar Wilde.
This is the first post on my new blog. I’m just getting this new blog going, so stay tuned for more. Subscribe below to get notified when I post new updates.
